
At Cozy, we have a number of inforads (information radiators) on a wall, displaying business and software metrics in real time. We built our first inforad solution a couple years ago, and my colleague Tim documented the initial build process. We’ve been watching these inforads every day since then, and have been less than happy with the reliability and ease of use of our setup.
The Radxa microcontroller that we chose to power the displays has been particularly troublesome - they have flaky networking, are underpowered for the use case, ship with a poorly-configured linux distro, and are generally difficult to configure and maintain. Recently we had a momentary power outage that corrupted the SD cards of two of the four running microcontrollers, and I was facing at least a day of reconfiguration work for each of them to put them back in service. This was the last straw for me, and I went searching for a new solution.
I wanted a microcontroller or single-board computer that would be inexpensive, easy to configure, and easy to manage. I had briefly considered using a full-size computer like a Mac mini (like the ones used by Square), but I didn’t feel like I could justify the cost.
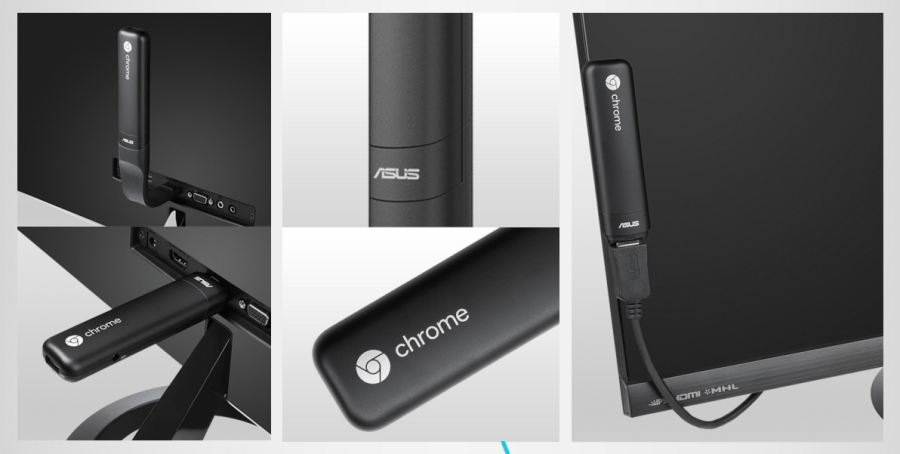
After much research, I landed on the Asus Chromebit. The Chromebit is less than $100, runs an appliance-like OS (ChromeOS) with good vendor support, has a rich ecosystem of Kiosk apps, and is capable of booting into kiosk mode without requiring extensive configuration calisthenics.
While researching the Chromebit to decide if it was fit for my purpose, I ran into a lot of conflicting information about whether it could be used as a kiosk-type appliance without having to purchase a managed Kiosk license from Google. I’m happy to report that it is definitely possible (and quite easy in fact) to configure an unmanaged Chromebit to automatically launch a kiosk application when booting without any interaction from a user.
So without any further ado, here are the configuration steps to set up a Chromebit as an inforad/wall display:
-
After unboxing the inforad, the first thing you’ll do is follow this tutorial to wipe the device and place it into developer mode.
-
Once the Chromebit reboots to the welcome screen, you’ll go through the setup wizard. As you go through the setup wizard, after connecting to the network, wait for the system clock (bottom right) to be correct before accepting the TOS, otherwise automatic updates will fail.
-
After completing the setup wizard, you’ll be at the login screen. Do not sign in with a Google account yet. From the login screen, hit
Ctrl + Alt + Kto display the Kiosk mode dialog, and clickEnableon the dialog. You’ll be back at the login screen, and now you can sign in with a Google account. -
Once you’ve logged into ChromeOS, you will install the Kiosk app. Click the App Launcher (magnifying glass in the bottom-left corner) and launch to the Chrome app store from the main app menu. Search for “kiosk” and find the app “Kiosk” by Zebradog, or go directly to it via this URL. Install the Kiosk app. If you’ve previously installed this app on any other computer while logged as the Google account that you used to log in on this computer, the app should already be installed.
-
Now you’ll configure the Kiosk app to autostart on boot. Open a new tab in Chrome and navigate to chrome://extensions. Make sure
Developer Modeis checked. Scroll down the list of installed extensions and find Kiosk. Highlight and copy the alphanumeric ID of the Kiosk application. ClickManage Kiosk Applicationsand paste the ID into theAdd kiosk applicationdialog that appears. ClickAdd. Select the Kiosk application in the dialog, clickSet to auto-launch, and then clickDone. -
Reboot the Chromebit. After reboot, you’ll get a dialog asking for auto-launch permission for Kiosk. Click
Confirm. Now the Kiosk app will auto-launch on every boot. The Chromebit will launch the Kiosk app, and you can configure the app to display your content.
Congratulations, now you have a Chromebit that will automatically launch the Kiosk application every time it starts, without any user intervention or manual login required.
The final part of this exercise is to configure the Kiosk application to display your content. I chose to use the excellent and free https://dashplay.io service for this. I created a Dashplay URL for each inforad, and set up a number of monitoring views to rotate through. The only remaining step was to configure the specific Dashplay URL as the default content URL in the Kiosk app for each inforad.
Now I have a remotely-configurable set of monitoring dashboards to display, with no need to connect directly to any of the Chromebits for day-to-day management. If anyone wants to display different content, they can navigate to an inforad’s dedicated Dashplay URL from their own computer, and change the configured content to their liking.
Total setup time for a Chromebit, from unboxing to displaying a monitoring dashboard, is less than 30 minutes. Total cost is under $100 (plus monitor), and I expect day-to-day maintenance to be nonexistent. We’ll see how these play out, but overall I’m very happy with the Chromebit as a device to power our inforads.
